Paxar Sierra Sport2 9460 User Manual
Browse online or download User Manual for Printers Paxar Sierra Sport2 9460. Paxar Sierra Sport2 9460 User Manual
- Page / 62
- Table of contents
- BOOKMARKS
- TABLE OF CONTENTS 3
- INTRODUCTION 7
- Using the Menu Charts 8
- Selecting an Option 9
- Exiting an Option 9
- Printing 10
- Selecting a Language 11
- USING DIAGNOSTICS 13
- Printer 15
- Test Label 15
- Using Diagnostics 2-5 17
- Sensors 18
- Printhead 20
- View Totals 21
- Battery 21
- Display 22
- Keyboard 23
- Communications 24
- Main Menu 25
- Data Dump 26
- Online Diagnostics 27
- Service Diagnostics 28
- File System 28
- SETTING UP THE PRINTER 29
- Stock Energy 31
- Backlight 32
- LCD Contrast 33
- Adjusting the Print Contrast 35
- Adjusting the Print Position 37
- Setting the Margin Adjust 38
- Setting the Demand Sensor 39
- SUCCESSFUL 40
- ↵ X 40
- For peel mode: 41
- Setting the Stock Sensor 42
- Selecting the Die Cut Sensor 43
- Setting Up the Printer 3-17 45
- ↵ X 45
- 2. Press A under ↵ 46
- 4. Close the supply door 46
- Exit chute 47
- Serial Communications 49
- Baud Rate 50
- Data Bits 51
- Stop Bits 51
- Flow Control 52
- Power Management 53
- RF Network 54
- About Bluetooth® 55
- Bluetooth Settings 56
- Enabling the Security 57
- Changing the PIN 58
- Local Name 59
- Local Address 60
- Printing Info 60
Summary of Contents
Monarch9460™Printer®SystemAdministrator'sGuideSystemAdministrator'sGuideTC9460SA Rev. AE 12/07 ©2006 Paxar Americas, Inc. a subsidiary of Av
1-4 System Administrator’s Guide Printing The host sends online packets containing print jobs to the printer. 1. Turn on the printer. Press and hol
Introduction 1-5 Selecting a Language You can change the printer's messages to English, French, German, Spanish, and Other (for future formats
1-6 System Administrator’s Guide
Using Diagnostics 2-1 USING DIAGNOSTICS This chapter explains how to use the Tool Box, Diagnostics menu. Only System Administrators should perform
2-2 System Administrator’s Guide 2. Press A under װ. You see the battery indicator E (empty) and F (full): E B F f ² T As you use the p
Using Diagnostics 2-3 Diagnostics Online Diag. ↵ d 6. Diagnostics is highlighted. Press A under ↵ to select Diagnostics. You are i
2-4 System Administrator’s Guide The first label shows the printer's configuration by packet (A-M). Refer to the Programmer's Manual for m
Using Diagnostics 2-5 3. Select Grey Scale. A grey scale label prints to check the uniformity of the printing. You return to the Test Label menu
2-6 System Administrator’s Guide Sensors Use this option to view the black mark, die cut, on-demand, and aperture sensor settings. To exit, press F a
Using Diagnostics 2-7 5. Select On-Demand. On-Demand A/D Value = 240 ↵ The acceptable range is between 0 and 255 and the A/D values change
Each product and program carries a respective written warranty, the only warranty on which the customer can rely. Paxar reserves the right to make ch
2-8 System Administrator’s Guide Printhead Use this option to check the printhead for bad dots, view the printhead dot resistance and the printhead t
Using Diagnostics 2-9 Battery Use this option to check the battery voltage. 1. From the Printer menu, select Battery. Battery Voltage = 7.74
2-10 System Administrator’s Guide 7. Select Ser High In. Service High Inches 00000075 ↵ 8. Press A under ↵ or F to return to the View
Using Diagnostics 2-11 4. Select Pixel. Pixel Test Press left key to toggle pixel display Each dot on the display is called a pixel. 5. P
2-12 System Administrator’s Guide Communications Use this menu to check the communications port and cable. You need a loopback plug for this test.
Using Diagnostics 2-13 RAM Use this menu to check the printer's memory. Main Menu To exit, press F at any time. 1. From the Diagnostics menu,
2-14 System Administrator’s Guide Data Dump Use this menu if you are having problems with a data stream. Data Dump captures the data from the commun
Using Diagnostics 2-15 About Use this option to view information about the printer model and software version. Main Menu To exit, press F at any ti
2-16 System Administrator’s Guide Service Diagnostics Service Diagnostics is only accessible to a Paxar Representative, because it requires a separ
Setting Up the Printer 3-1 SETTING UP THE PRINTER This chapter explains how to use the Tool Box, Setup menu to configure the printer. Main Menu To ex
i TABLE OF CONTENTS INTRODUCTION ... 1-1 Using This Manual...
3-2 System Administrator’s Guide As you use the printer, the battery indicator line gets closer to E (empty), instead of F (full). Recharge the batt
Setting Up the Printer 3-3 Stock Energy Use this menu to select the type of supplies you are using. The printer supports standard or high energy s
3-4 System Administrator’s Guide Backlight Use this menu to enable or disable the backlight. The display backlight can be enabled for dimly lit are
Setting Up the Printer 3-5 LCD Contrast Use this menu to adjust the LCD (display) contrast depending on your viewing angle. The range is between 0
3-6 System Administrator’s Guide Printer Use this menu to change your printer's contrast, print positions, and enable or disable the various se
Setting Up the Printer 3-7 Adjusting the Print Contrast Contrast controls the darkness of the printing on your supply. The range is between -28 to 4
3-8 System Administrator’s Guide Adjusting the Supply Position Use this option to adjust how much supply feeds out of the printer. The range is betw
Setting Up the Printer 3-9 Adjusting the Print Position Use this option to adjust where data prints vertically on the supply. The range is between -
3-10 System Administrator’s Guide Setting the Margin Adjust Use this option to adjust where the format prints horizontally on the supply. The range
Setting Up the Printer 3-11 Setting the Demand Sensor Use this option to enable or disable the on-demand sensor. When you select: ♦ disable, printin
ii SETTING UP THE PRINTER ... 3-1 Stock Energy ...
3-12 System Administrator’s Guide For the tear edge: 1. Remove supplies or rewind the supplies enough to make sure there is nothing under the senso
Setting Up the Printer 3-13 For peel mode: 1. Separate one or two labels from the liner and place the liner across the exit chute. 2. Feed the line
3-14 System Administrator’s Guide 3. Close the supply door. For more information on how to load supply for peel mode, refer to the Operator's
Setting Up the Printer 3-15 Selecting the Die Cut Sensor 1. From the Printer menu, select Stock Sensor, Die Cut. Die Cut Sensor Selected ↵
3-16 System Administrator’s Guide 5. Press A under ↵ to continue. You see a message that the printer is calibrating the supply. SUCCESSFUL ↵
Setting Up the Printer 3-17 3. Load the supply by placing the supply across the exit chute without a black mark covering the sensor. 4. Close th
3-18 System Administrator’s Guide Selecting the Non-Indexed Sensor 1. From the Printer menu, select Stock Sensor, Non-Indexed. Non-Indexed Senso
Setting Up the Printer 3-19 5. Press A under ↵ icon to continue. You see a message that the printer is calibrating the supply. SUCCESSFUL ↵
3-20 System Administrator’s Guide 4. Close the supply door. 5. Press A under ↵ to continue. You see a message that the printer is calibrating the
Setting Up the Printer 3-21 Serial Communications Use this menu to set the serial communication values. These values provide the link for normal o
iii RF Network... 3-26 About Bluetooth® ...
3-22 System Administrator’s Guide Baud Rate Use this option to set the printer's baud rate. Make sure the printer settings match those at the h
Setting Up the Printer 3-23 Data Bits Use this option to set the printer's data bits. Make sure the printer settings match those at the host.
3-24 System Administrator’s Guide Flow Control Use this option to set the printer's flow control. Make sure the printer settings match those at
Setting Up the Printer 3-25 Power Management Use this menu to e set the amount of time before the printer goes into sleep mode or automatically shu
3-26 System Administrator’s Guide 2. Press A under ↵ to save the setting. 3. Press F until you return to the Setup menu. Shut Down You can set th
Setting Up the Printer 3-27 About Bluetooth® Bluetooth® wireless technology is a low-power consuming way to communicate between devices. It has a
3-28 System Administrator’s Guide Defaults The following defaults are set in the Bluetooth printer. Function Default Security none PIN 0 Local Name
Setting Up the Printer 3-29 Enabling the Security Use this option to enable or disable Bluetooth security. 1. From the Setup menu, select Bluetooth,
3-30 System Administrator’s Guide Changing the PIN Use this option to set the Bluetooth PIN. The PIN can be up to 15 characters: 0-9. Even though
Setting Up the Printer 3-31 Local Name Use this option to view and set the Bluetooth local name. The local name can be up to 15 characters: upper-
3-32 System Administrator’s Guide Security Disabled PIN: 5 Name: WRHSE 1 Address: 0850123abc2 Local Address Use this option to view the local Bluet
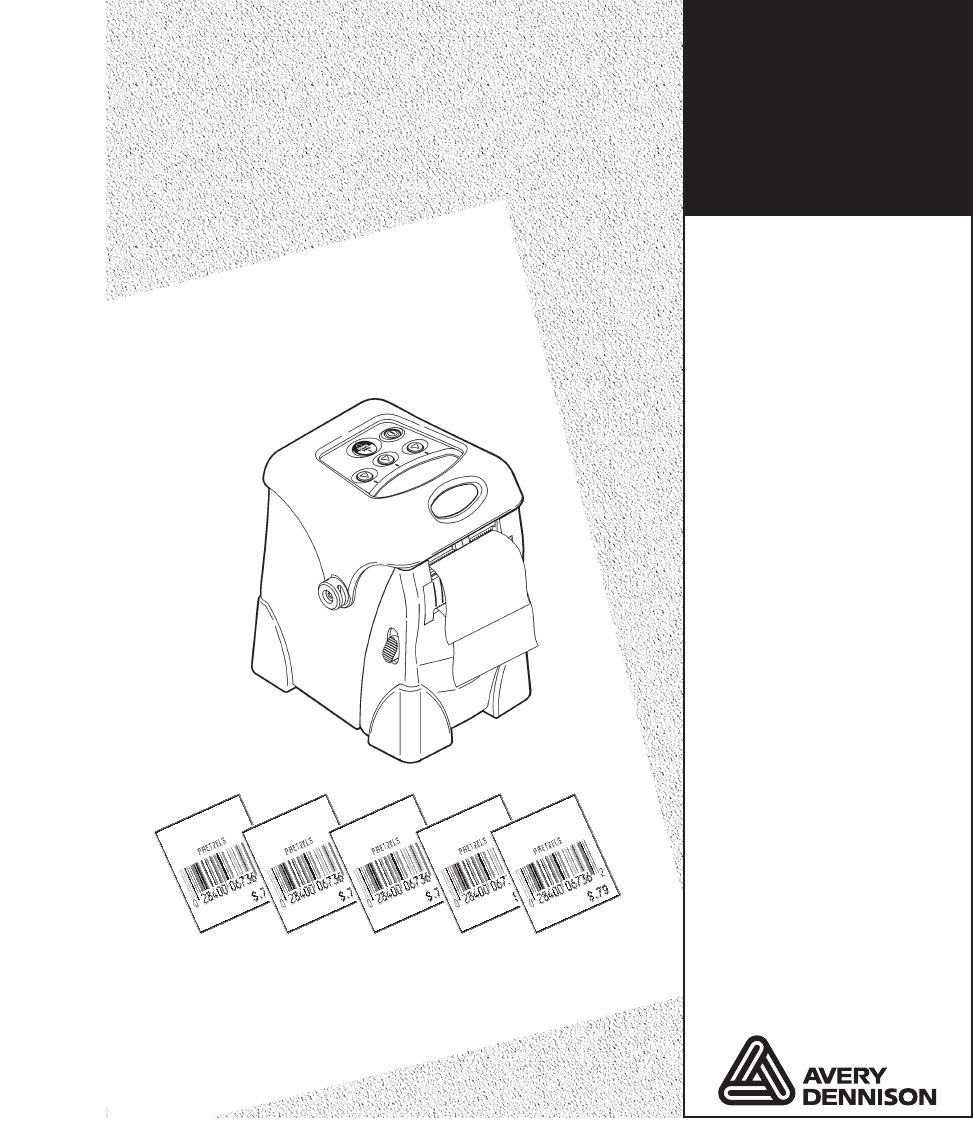
Introduction 1-1 INTRODUCTION Use this System Administrator's Guide for the Monarch® Sierra Sport2™ 9460™ printer. Review the printer informati
1-2 System Administrator’s Guide Using the Menu Charts The chapters in this manual have one or more charts showing the printer's menu structur
Introduction 1-3 The following table describes the icons you may see on the display: When you see Press the NAVIGATION A button under the icon as de
Related products and manuals for Printers Paxar Sierra Sport2 9460
 (46 pages)


 (4 pages)
(44 pages)
(59 pages)
(63 pages)
(188 pages)
(2 pages)
(56 pages)
(2 pages)
(4 pages)
(100 pages)
(40 pages)
(44 pages)
(24 pages)
(184 pages)
(4 pages)
(44 pages)
(59 pages)
(63 pages)
(188 pages)
(2 pages)
(56 pages)
(2 pages)
(4 pages)
(100 pages)
(40 pages)
(44 pages)
(24 pages)
(184 pages)
© 2020, manymanuals.com. All rights reserved. | 1.698 s |
 Manymanuals.com
 Manymanuals.de
 Manymanuals.fr
 Manymanuals.it
 Manymanuals.pl
 Manymanuals.cz
 Manymanuals.es
 Manymanuals-pt.com
Comments to this Manuals